
If there is one single method to improve your paper model skills, it is edge coloring.
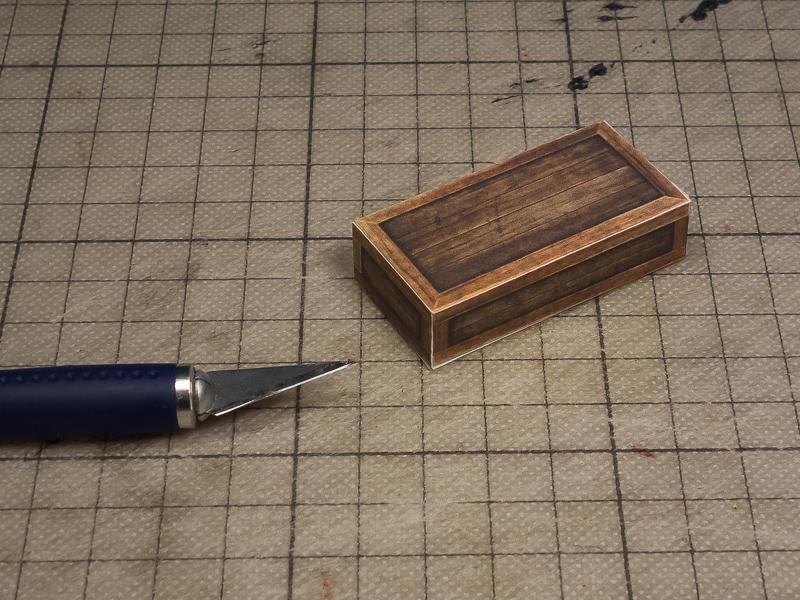
To demonstrate this method I will use a a simple model: a box or crate. This is the part cut out and unfold.

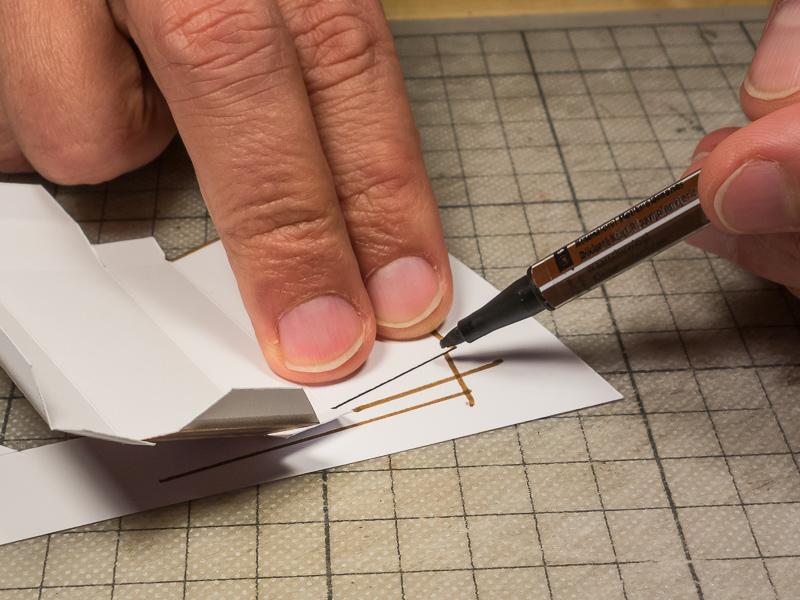
It was cut and scored with precision but now you see the problem. All the cut and score lines are white!
As I have used rather thin paper (160gsm, apx 0,25mm thin) the white lines are not showing up too strong, but the stronger paper or card stock you use, the more the white edges will pop out like bright lines between the nice texturing and disrupting the effect of a cohesive surface.
One way to reduce the amount of white lines is to score the fold lines with a blunt object, like the empty pen I have used. That way you do not cut the fold line but rather press and indent it. So when you bend the fold line the texturing stays intact.

Still the cut lines will show as white.
So to fix the remaining white lines, you color them! Use anything from drawing pencils, pastels or felt pens. I have a range of felt pens and choose a color that fits bets. In this case I went for brown. But even a neutral gray will look better than white.
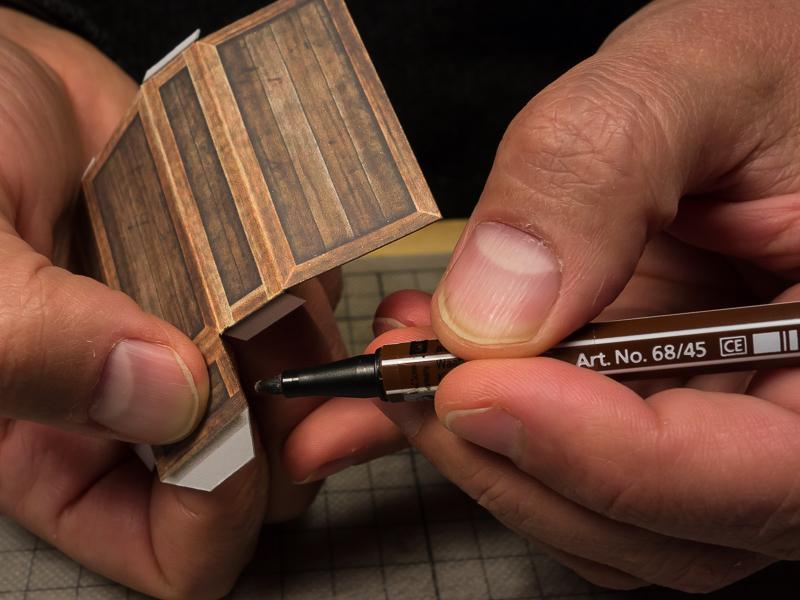
For longer and easy to reach edges I turn the part upside down and color along the edge. That way I make sure that I do not accidentally color on the textured side.
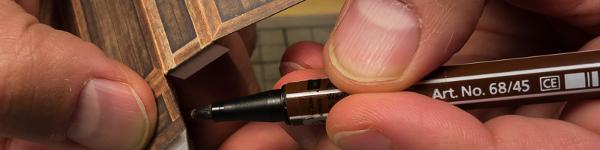
For shorter or not so easy to reach edges I go free-hand-style. Take your time, go slow and don’t forget to breathe 🙂
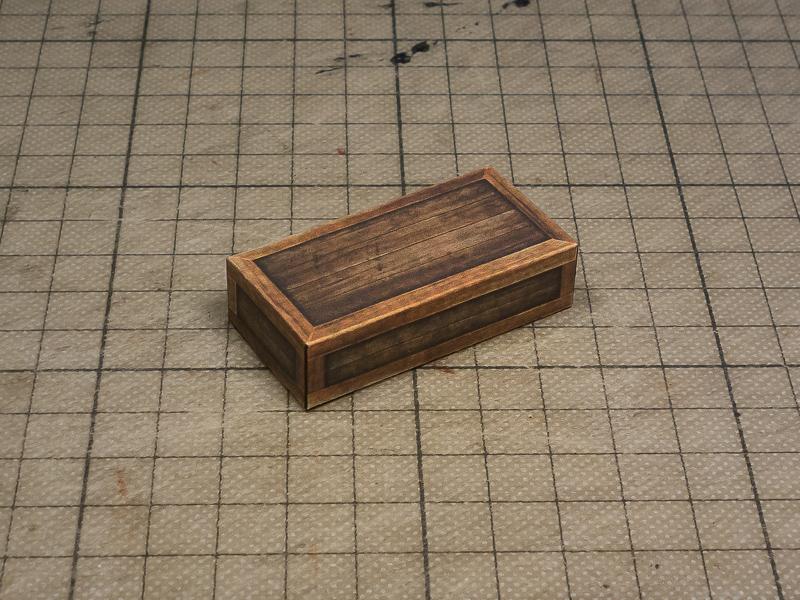
Now you are ready to assemble and glue the part(s). Doesn’t the color edge version look better?
Here are the three version in comparison. Back row left and right featuring the white lines vs. the color edge version in the front.

I encourage you to try this method on your next project and enjoy a much better looking model!
Happy building,
Chris