
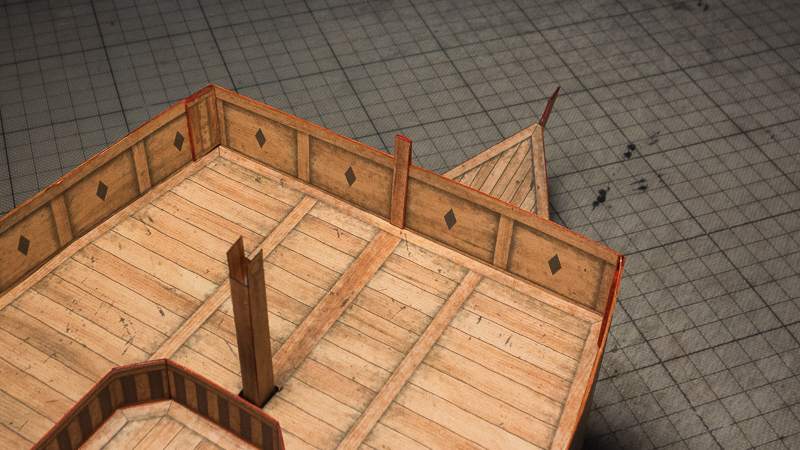
Once I had finished the build of my sekibune I wanted to add some rigging …

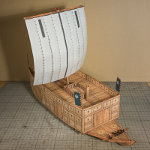
This is the finished build of the sekibune paper model in rowing configuration. The mast is not raised and the sails are stowed somewhere under deck. I also made a couple of grappling hooks that are just placed on the bow deck without ropes. After spending some time researching how the rig would look like I was ready to start.
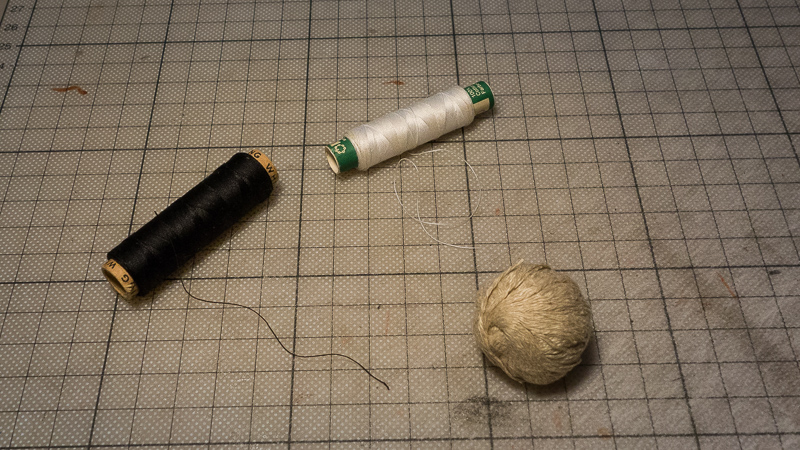
The first thing I did was raid our sowing box for usable material … and I was lucky! I found all I needed. The sand color thread was thick enough and had just the right color to emulate ropes. The black thin thread I would use to tie off rope ends. And the white one I needed for the ropes that positioned the sail.
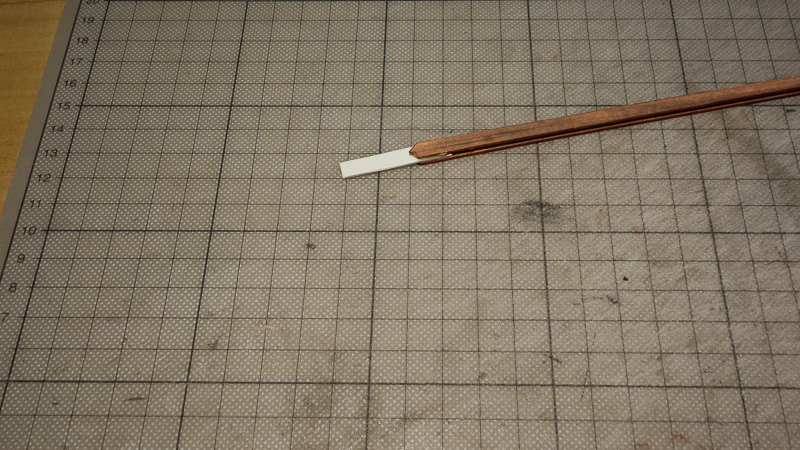
The next step was to raise the mast. For that I inserted a short piece of strong cardboard to help it position at the right height.
Then I added some posts made out of textured parts I reprinted for this purpose at the back, sides and front where I wanted to “tie” the ropes holding the mast.
These are the back ones in the corners.
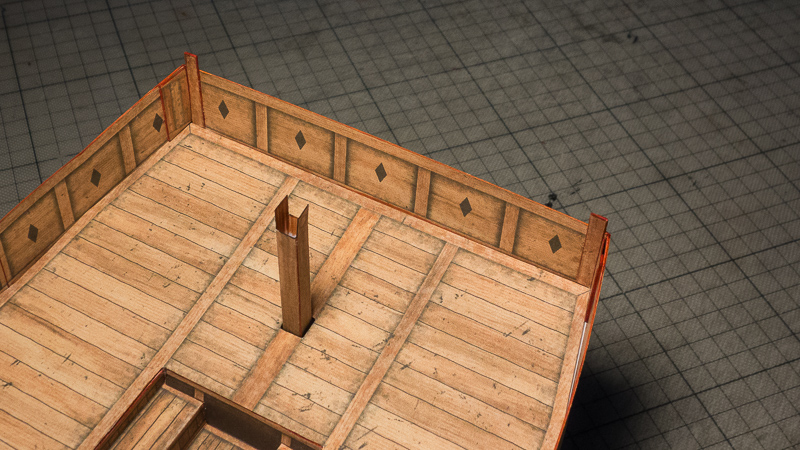
The front one in the middle
And finally the ones on the side where the sail positioning ropes would go.

I then started putting some white glue on the back post and wrapped the “rope” thread around a couple of times.

I did the same for the front middle one. Then I glued the two back lines to the top of the mast. Due to the split construction of the mast, I just glued them into the middle space.

Then I would have to add the sail as the front mast rope would go over the sail. I added the white “ropes” to the sides of the sail by gluing them into position with little drops of glue.

Once dry I placed the sail onto the mast. Then I was able to glue the front rope thread into position. To help the sail stay in the right position, as if the wind was blowing it towards the bow, I added a toothpick cut to the right length and positioned as shown. You can also see the white ropes lay into the corners as I did not have the side posts added in that picture.
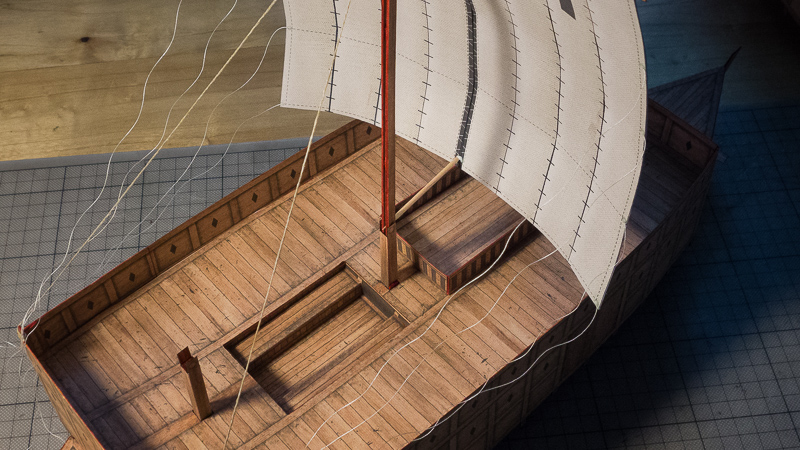
Once I had the side posts added, I put some glue on them and carefully wrapped the white threads around.

I then saw in my research that the front rope had a special connection, so I added this little part to the front deck section and again in the same process added this rope to it.

When it was dry I placed it into position.

For the grappling hooks, I threaded the rope through the ring and glued the rope forming a loop back and glued it in position.

I then carefully glued some black thread to the loop end.

Once it dried I then put some glue on the rope and wound the black one around a couple of times. I then formed a coil of rope and also glued it together like this.

I repeated these steps for the remaining grappling hooks and then placed them onto the bow deck!

And here is the full view of the rigged sekibune 🙂
